 Tips for Building
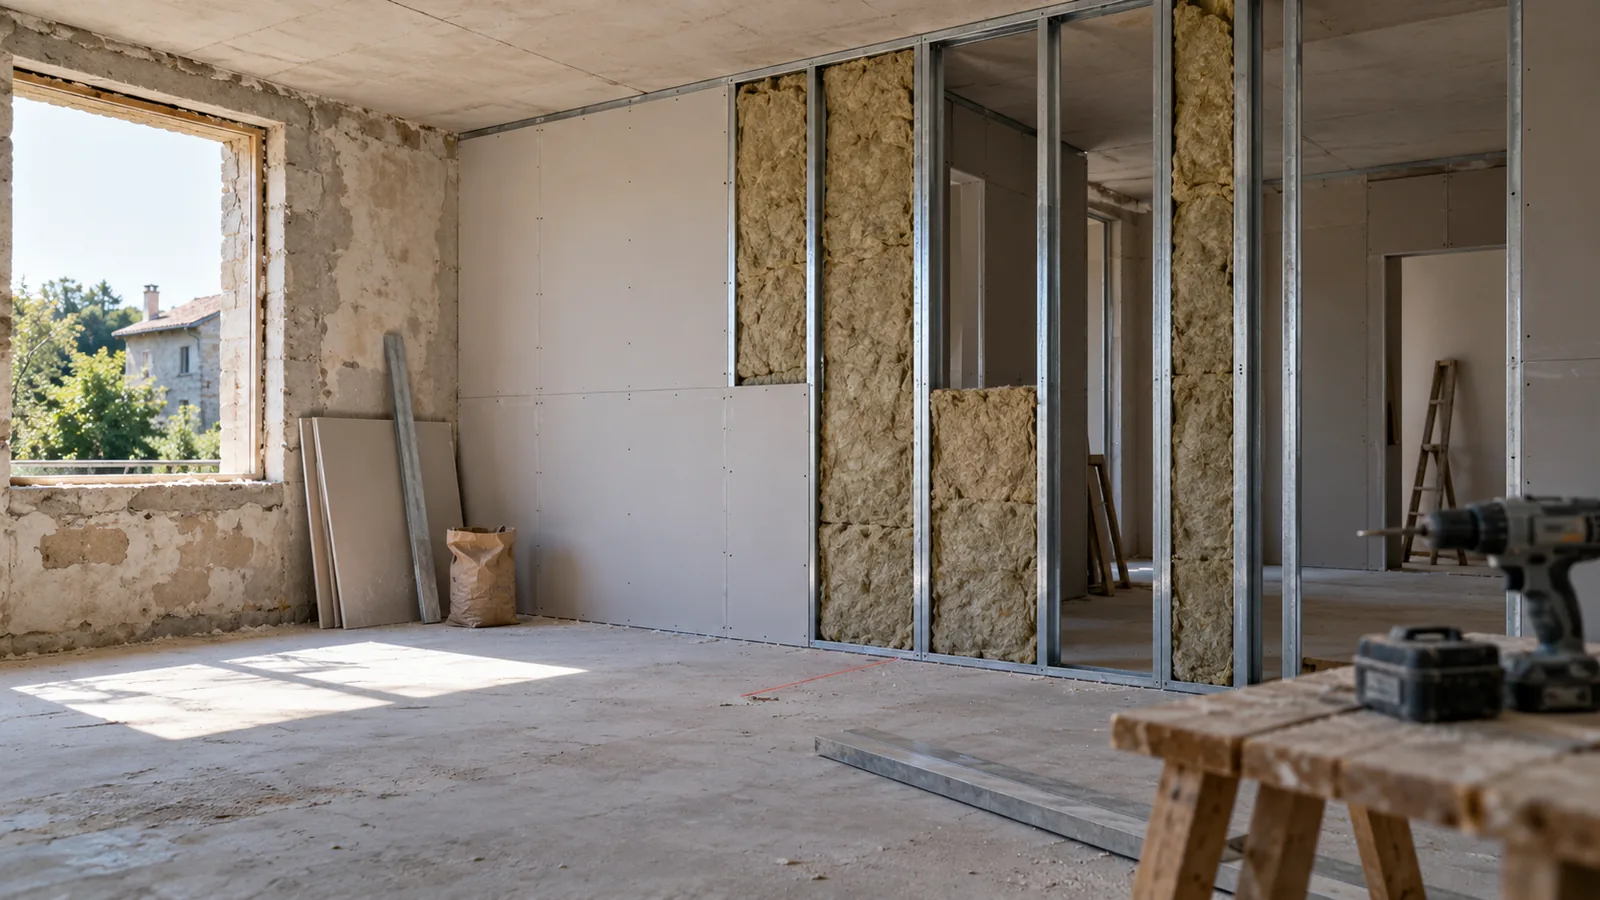
Three tools make a clean partition: a cross line laser for plumb, a screwdriver with a depth stop so every screw sits just right, and good jointing knives. The rest, board lifter and long-reach sander, is worth hiring.
The steps, in order
Set out floor and ceiling
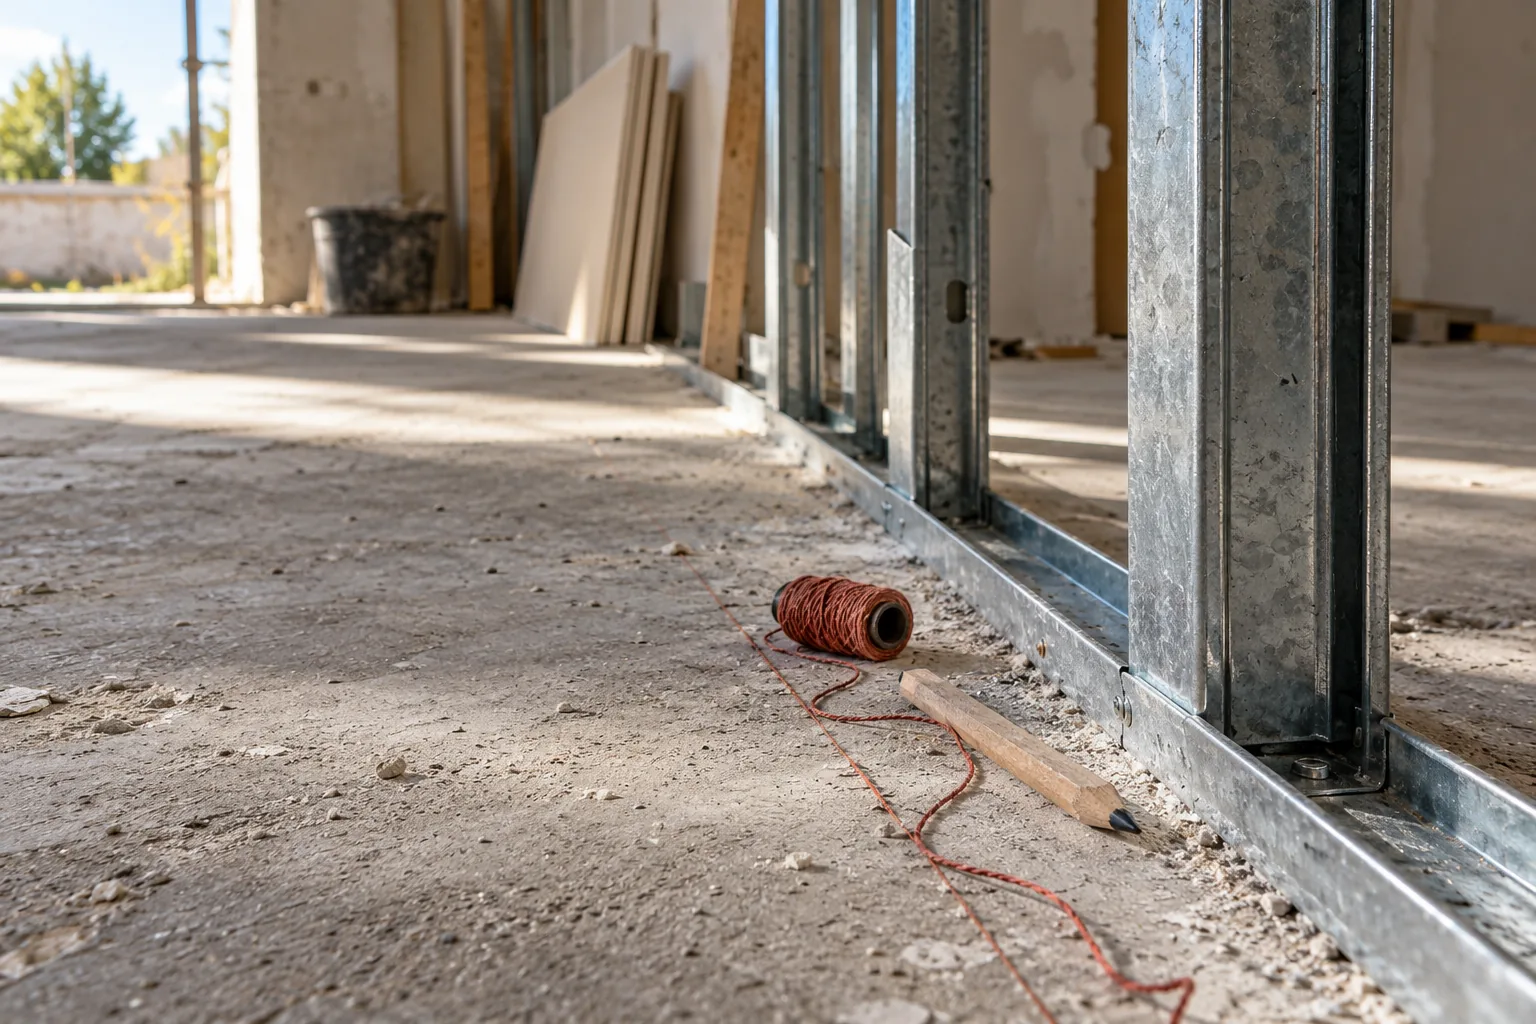
Mark the line on the floor, then transfer it to the ceiling with a cross line laser or a plumb bob. A partition that is out of plumb shows at every door and every cupboard set against it.
Tools: cross line laser, chalk line, tape measure
Fix the track
Track goes on the floor and ceiling, over an acoustic strip if the wall has to cut noise. Into concrete, hammer-fix plugs or concrete screws in holes drilled with a rotary hammer; into timber, screw straight in.
Tools: SDS-Plus rotary hammer, drill driver, tin snips
Stand the studs
Studs slot into the track at the centres the system maker specifies, 600 mm in the usual case. Strengthen door openings, and add noggins or backing now wherever a heavy cabinet will hang. The partition calculator gives the number of studs, track lengths and boards for your length and height.
Tools: snips, crimper or drill driver, spirit level
Cables and insulation
Cables run through the holes in the studs before any board goes on. Then fit mineral wool between the studs: it does most of the work of a partition's sound insulation.
Tools: utility knife, insulation knife
Screw the boards
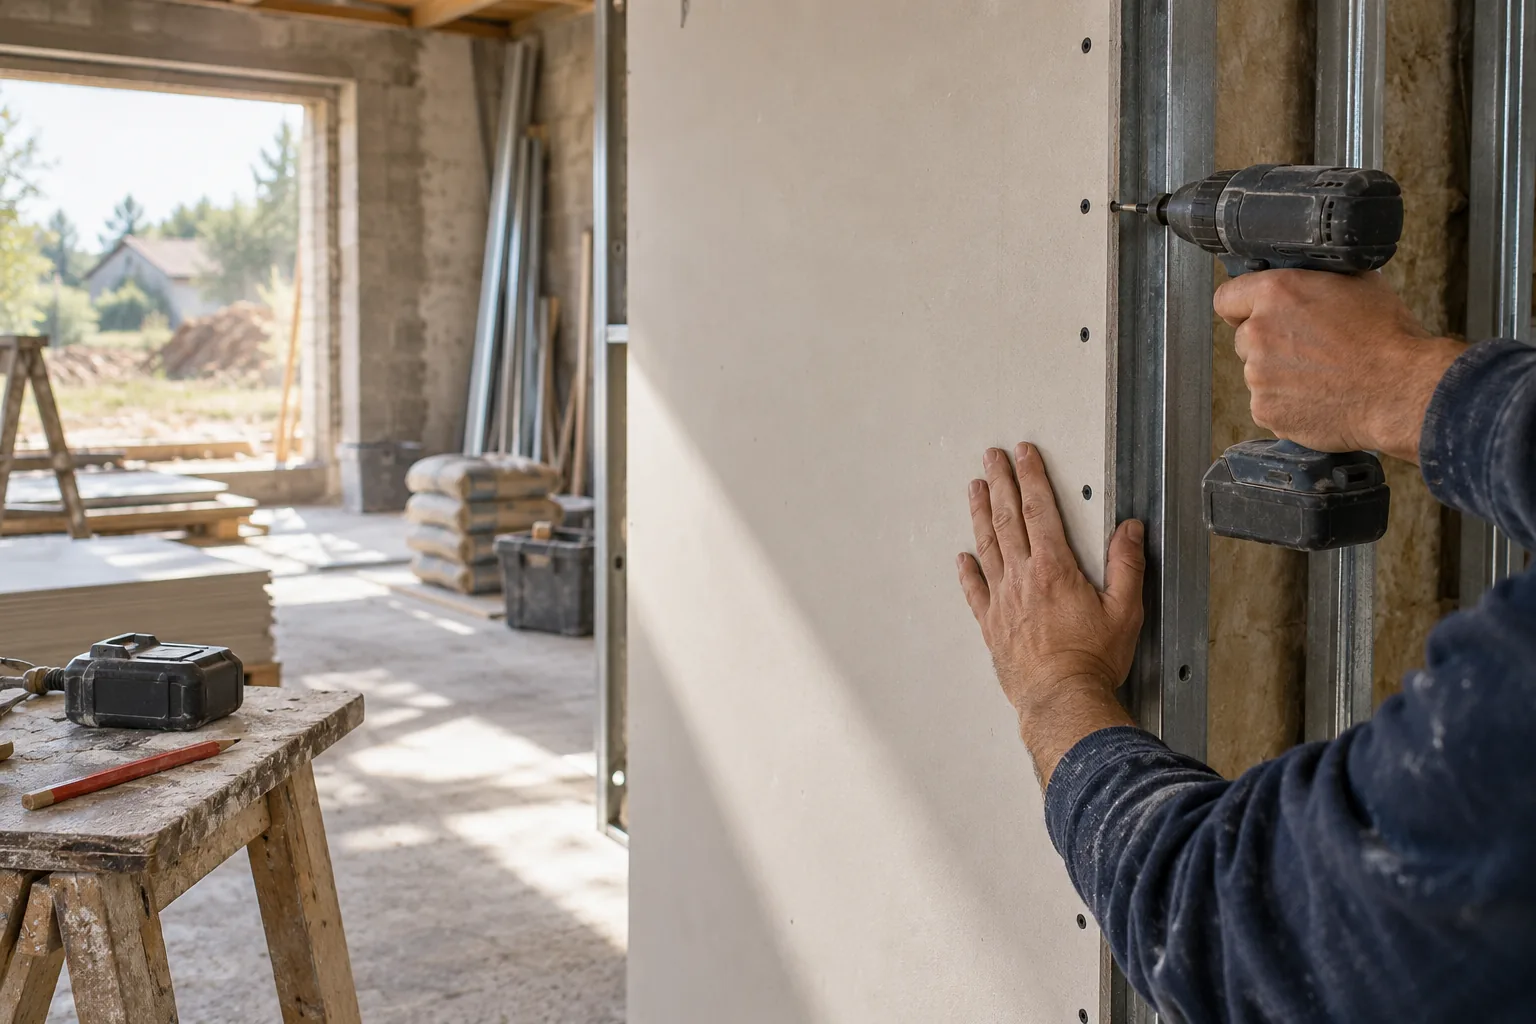
Boards run vertically, with joints staggered from one side to the other. Each screw should sit just below the paper without tearing it: a screwdriver with a depth stop does that without thinking. On a ceiling, a board lifter replaces a second pair of hands.
Tools: drywall screwdriver or drill with depth stop, board lifter, utility knife, board rasp
Tape and joint
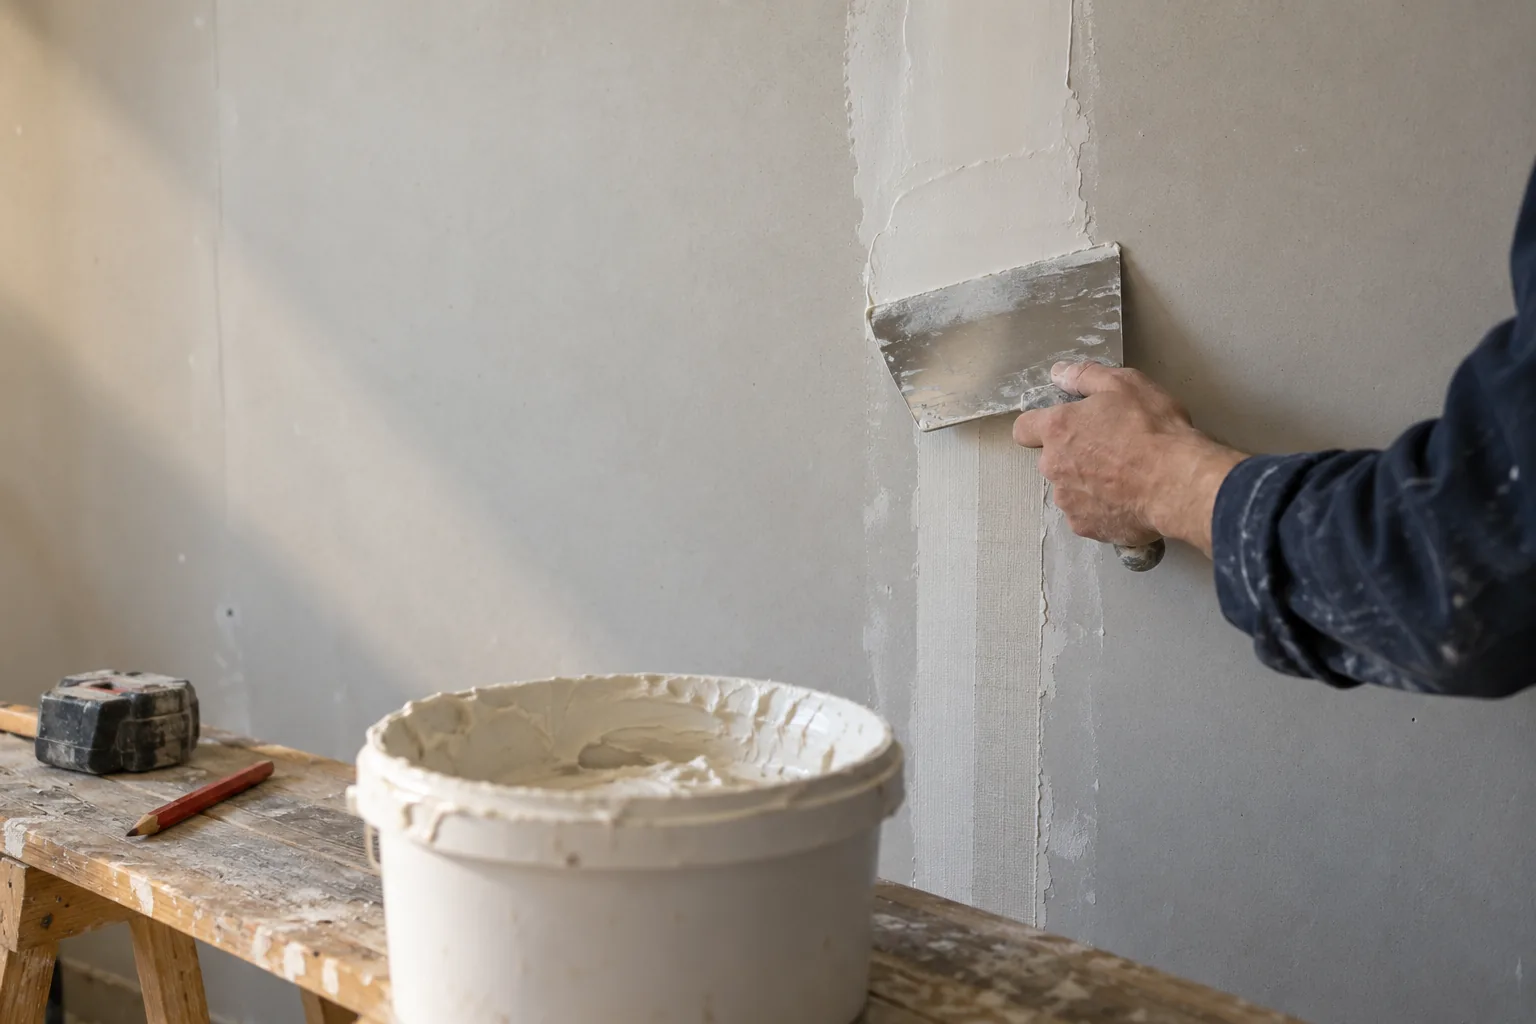
A first coat of compound with the paper tape bedded into it, then one or two wider finishing coats, drying between each. A light sand finishes the job before paint.
Tools: jointing knives, hawk, long-reach sander
The tools: buy or hire
| Tool | Buy or hire | Why |
|---|---|---|
| Cross line laser Setting out | Buy | It comes back out for tiling, kitchen units and every picture you hang. See our scored comparison |
| SDS-Plus rotary hammer Track into concrete | Buy | Dozens of holes in concrete wear out a hammer drill. See our scored comparison |
| Drywall screwdriver Boards | Depends on volume | Buy one for a whole house; for a single room, an ordinary drill driver fitted with a depth stop does the job. See on Amazon |
| Tin snips Track, studs | Buy | Cheap, and cleaner than a grinder indoors. See on Amazon |
| Board lifter Ceilings | Hire | Essential on your own at ceiling height, in the way the rest of the time. |
| Long-reach sander Finishing | Hire | Expensive for a few days of sanding, and hand sanding is enough on a small area. |
| Jointing knives Taping | Buy | A cheap knife leaves marks you then have to sand out. See on Amazon |
Consumables
- Plasterboard, moisture-resistant in wet rooms.
- Track and studs of matching width, plus furring channel where needed.
- Drywall screws long enough for the board thickness.
- Mineral wool for sound insulation.
- Paper tape and jointing compound.
- Acoustic strip under the track, if the wall has to cut noise.
Safety on this job
- Isolate the circuit at the consumer unit before touching existing wiring, and test that it is dead.
- Mineral wool: gloves, long sleeves and a mask when cutting.
- Sanding compound: a mask against fine dust, and extraction if you can.
- Heavy boards: two people to carry them, and a board lifter on ceilings rather than improvised props.
Machines we compare for this job
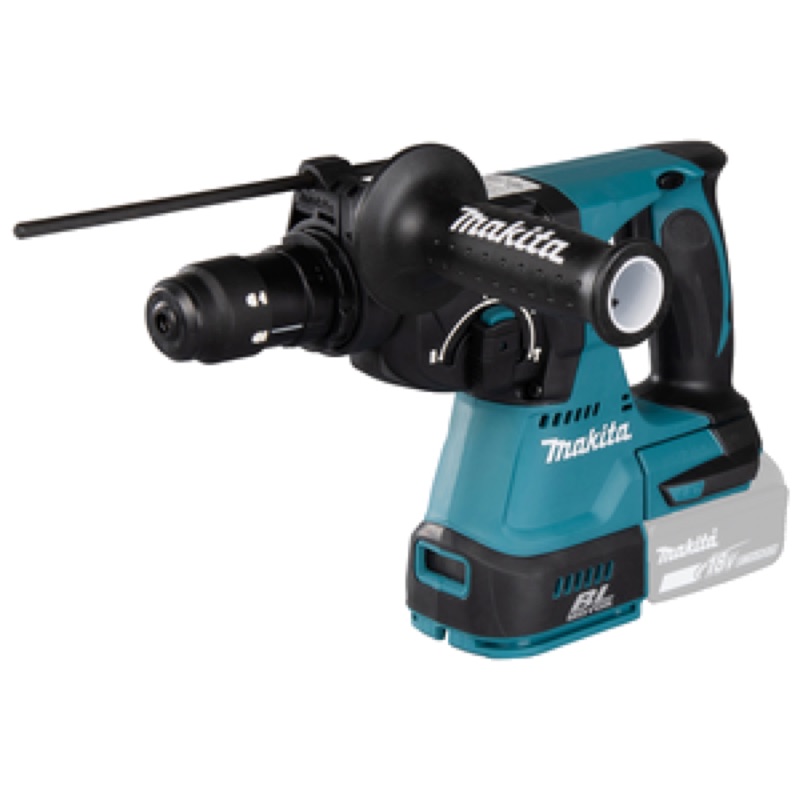
18V SDS-Plus rotary hammers
Seven 18V SDS-Plus rotary hammers, one per battery platform, scored on impact energy, capacity, hammer rate and price per joule.
See the comparison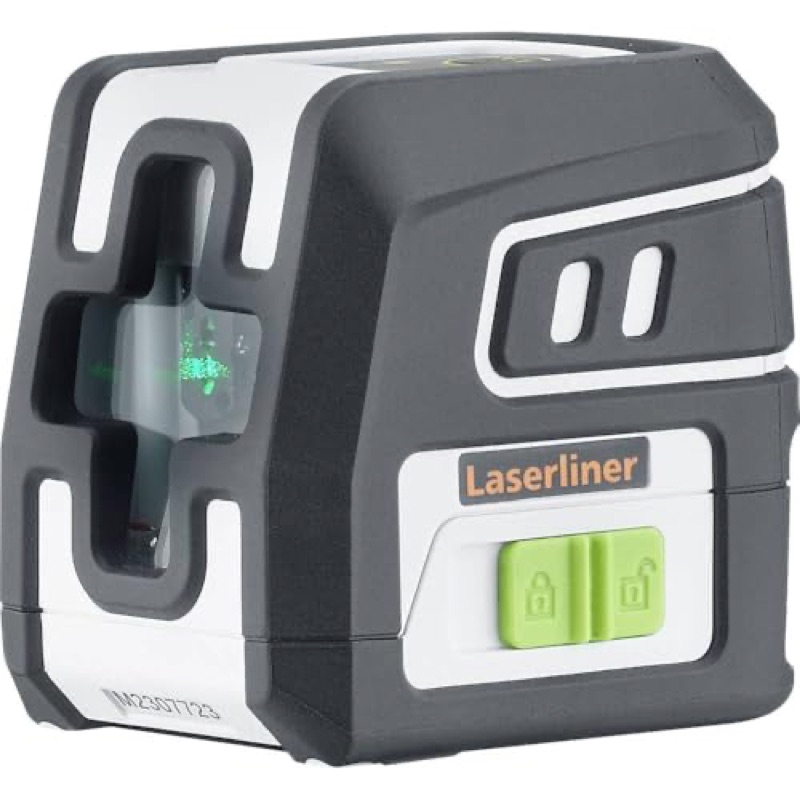
Laser levels
Eleven cross line lasers, from the Quigo to the GLL 2-15 G, scored on stated accuracy at 10 m, range, price per metre and the IP rating each maker publishes.
See the comparisonFrequently asked questions
Standard or moisture-resistant board?
Moisture-resistant in a wet room: bathroom, utility room, kitchen behind the sink. It copes better with humid air, but it is not waterproofing: in a shower, a tanking system under the tiles is still needed.
Can a stud wall hold a heavy cabinet?
Plasterboard fixings hold light loads, within the limit their maker states. For a kitchen unit, a basin or a television, fit timber or metal backing between the studs before you close the wall.
Studs at 600 or 400 mm centres?
600 mm is the usual spacing. Closer centres are justified by the board, the height of the wall or a heavy finish such as tiles. The system maker's documentation has the final say.