 Tips for Building
Buy the laying tools, hire the wet saw. A manual tile cutter, a notched trowel, a diamond-bladed grinder and a levelling system will all come back out. A wet saw only earns its place for thick porcelain or a big job.
The steps, in order
Check the base
Flat, dry, clean, with nothing that sounds hollow. Run a 2 m straight edge in every direction: hollows are filled before tiling, with levelling compound, not with extra adhesive.
Tools: aluminium straight edge, spirit level
Prime and set out
Apply the primer the adhesive maker specifies. Then lay tiles dry from the centre line of the room, so the cuts fall under units and along hidden walls rather than at the doorway. Work out tiles, adhesive and grout with the tile calculator.
Tools: roller, chalk line, cross line laser
Mix the adhesive
Mix tile adhesive with the amount of water printed on the bag, using a paddle at low speed. Let it stand a few minutes, mix again, and only mix what you will lay within the stated working time.
Tools: mixer or drill with a paddle, bucket
Spread and lay
Comb the adhesive with a notched trowel whose notch size depends on the tile format. For large tiles the maker often requires back-buttering as well, adhesive on the floor and on the back of the tile. Lift a tile now and then: its back should be covered.
Tools: notched trowel, rubber mallet, spacers or levelling system
Cut
Straight cuts on a manual tile cutter. Notches and curves with a grinder fitted with a diamond blade. Thick porcelain or a lot of cuts: a wet saw, more accurate and dust free.
Tools: tile cutter, grinder with diamond blade, wet saw
Grout
Once the adhesive's curing time has passed, work the grout diagonally across the joints with a rubber float, then clean off with a barely damp sponge before it hardens.
Tools: rubber grout float, sponge, bucket
The tools: buy or hire
| Tool | Buy or hire | Why |
|---|---|---|
| Manual tile cutter Straight cuts | Buy | The tool that makes most of the cuts, clean and quiet. See on Amazon |
| Grinder and diamond blade Notches, curves | Buy | It handles everything the tile cutter cannot. See on Amazon |
| Wet saw Thick porcelain | Hire | Accurate and dust free, but bulky to own for a single job. |
| Paddle mixer Adhesive | Depends on volume | A powerful drill with a paddle is enough for one room; a mixer earns its place over a whole house. See on Amazon |
| Notched trowel Spreading | Buy | Choose the notch size for your tile format, from the adhesive datasheet. See on Amazon |
| Tile levelling system Large formats | Buy | It lines up the edges of large tiles where the eye is no longer enough. See on Amazon |
| Cross line laser Setting out | Buy | It marks the room's axes and comes back out on every other job. See our scored comparison |
| SDS-Plus rotary hammer Lifting old tiles | Buy | In chisel mode it lifts old tiles over a small area; beyond that, hire a breaker. See our scored comparison |
Consumables
- Tile adhesive of the class stated for your tile and your base.
- Primer and, where needed, levelling compound.
- Spacers or levelling clips and wedges.
- Grout for the joint width you planned.
- Tiles with a margin for cuts and breakage, larger for a diagonal layout.
Safety on this job
- Dry cutting: tile dust contains silica. Wear a suitable respirator, or cut wet.
- Grinder: glasses, gloves and the guard in place; never a wood or metal disc on tiles.
- Wet adhesive: gloves, it irritates skin.
- Knee pads: a day of tiling is a day on your knees.
Machines we compare for this job
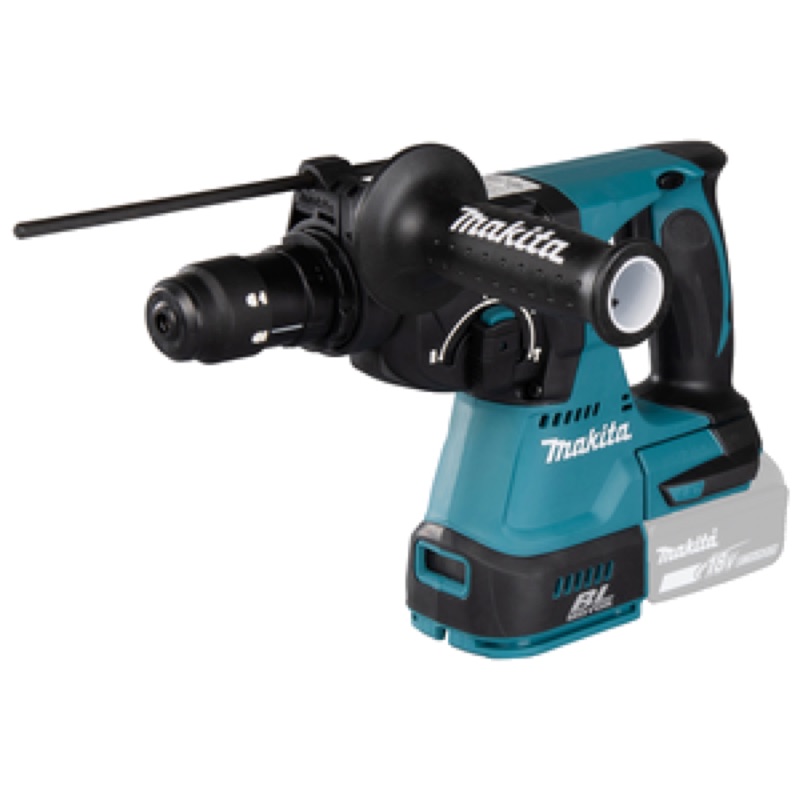
18V SDS-Plus rotary hammers
Seven 18V SDS-Plus rotary hammers, one per battery platform, scored on impact energy, capacity, hammer rate and price per joule.
See the comparison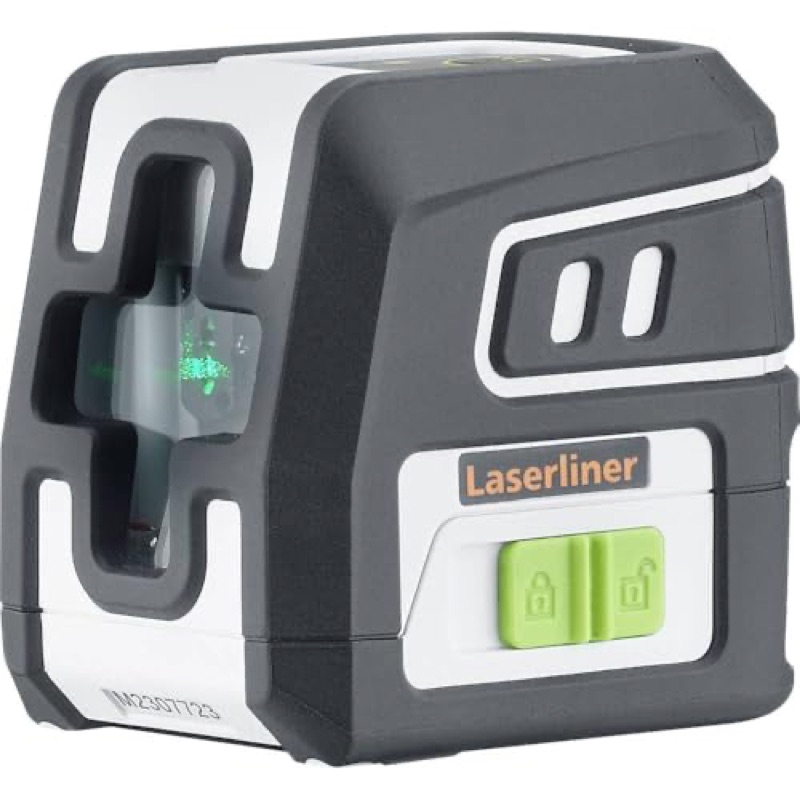
Laser levels
Eleven cross line lasers, from the Quigo to the GLL 2-15 G, scored on stated accuracy at 10 m, range, price per metre and the IP rating each maker publishes.
See the comparisonFrequently asked questions
What notch size should the trowel have?
The adhesive datasheet matches tile format to trowel. The larger the tile, the larger the notch. The check is the same in every case: lift a laid tile and make sure its back is covered.
Can I tile over old tiles?
Often, if the old ones are sound, well bonded and degreased, with a suitable bonding primer. Check the added height first: it causes trouble at doors and thresholds.
When can I walk on new tiles?
The time is printed on the adhesive bag: often around 24 hours for a standard adhesive, a few hours for a rapid-set one. Grouting waits the same time.